Set up environment
Before writing the user interface or connecting to your EML AdminTool, you need a working development environment. This guide will help you set up a basic Electron project with EML Lib.
Install Node.js
EML Lib v2 requires a modern version of Node.js to function correctly. You must install Node.js v20 (LTS) or higher. If you don’t have Node.js installed yet, follow the instructions below for your operating system.
Go to the official Node.js website.
Download the LTS (Long Term Support) installer (v20+).
Run the installer and follow the instructions.
Open a Command Prompt or PowerShell and verify the installation:
node -v
# Should output v20.x.x or higher
The easiest way is to use Homebrew. If you don’t have it, install it: open Terminal and run:
/bin/bash -c "$(curl -fsSL https://raw.githubusercontent.com/Homebrew/install/HEAD/install.sh)"Install Node.js:
brew install node@24Note
Node.js v24 is the latest LTS version on macOS as of December 2025. It is fully compatible with EML Lib v2.
Verify the installation:
node -v
# Should output v24.x.x or higher
The easiest way is to use
fnm(Fast Node Manager). Install it by running the following commands in your terminal:curl -fsSL https://fnm.vercel.app/install | bash source ~/.bashrc # or source ~/.zshrcInstall Node.js:
fnm install 24
fnm use 24
Note
Node.js v24 is the latest LTS version on macOS as of December 2025. It is fully compatible with EML Lib v2.
Verify the installation:
node -v
# Should output v24.x.x or higher
Initialize the project
Before building your custom launcher, you need a working development environment. EML Lib provides two ways to get started: using our pre-configured template (recommended for beginners) or setting up the environment manually.
Option 1: Use the pre-configured template (recommended for beginners)
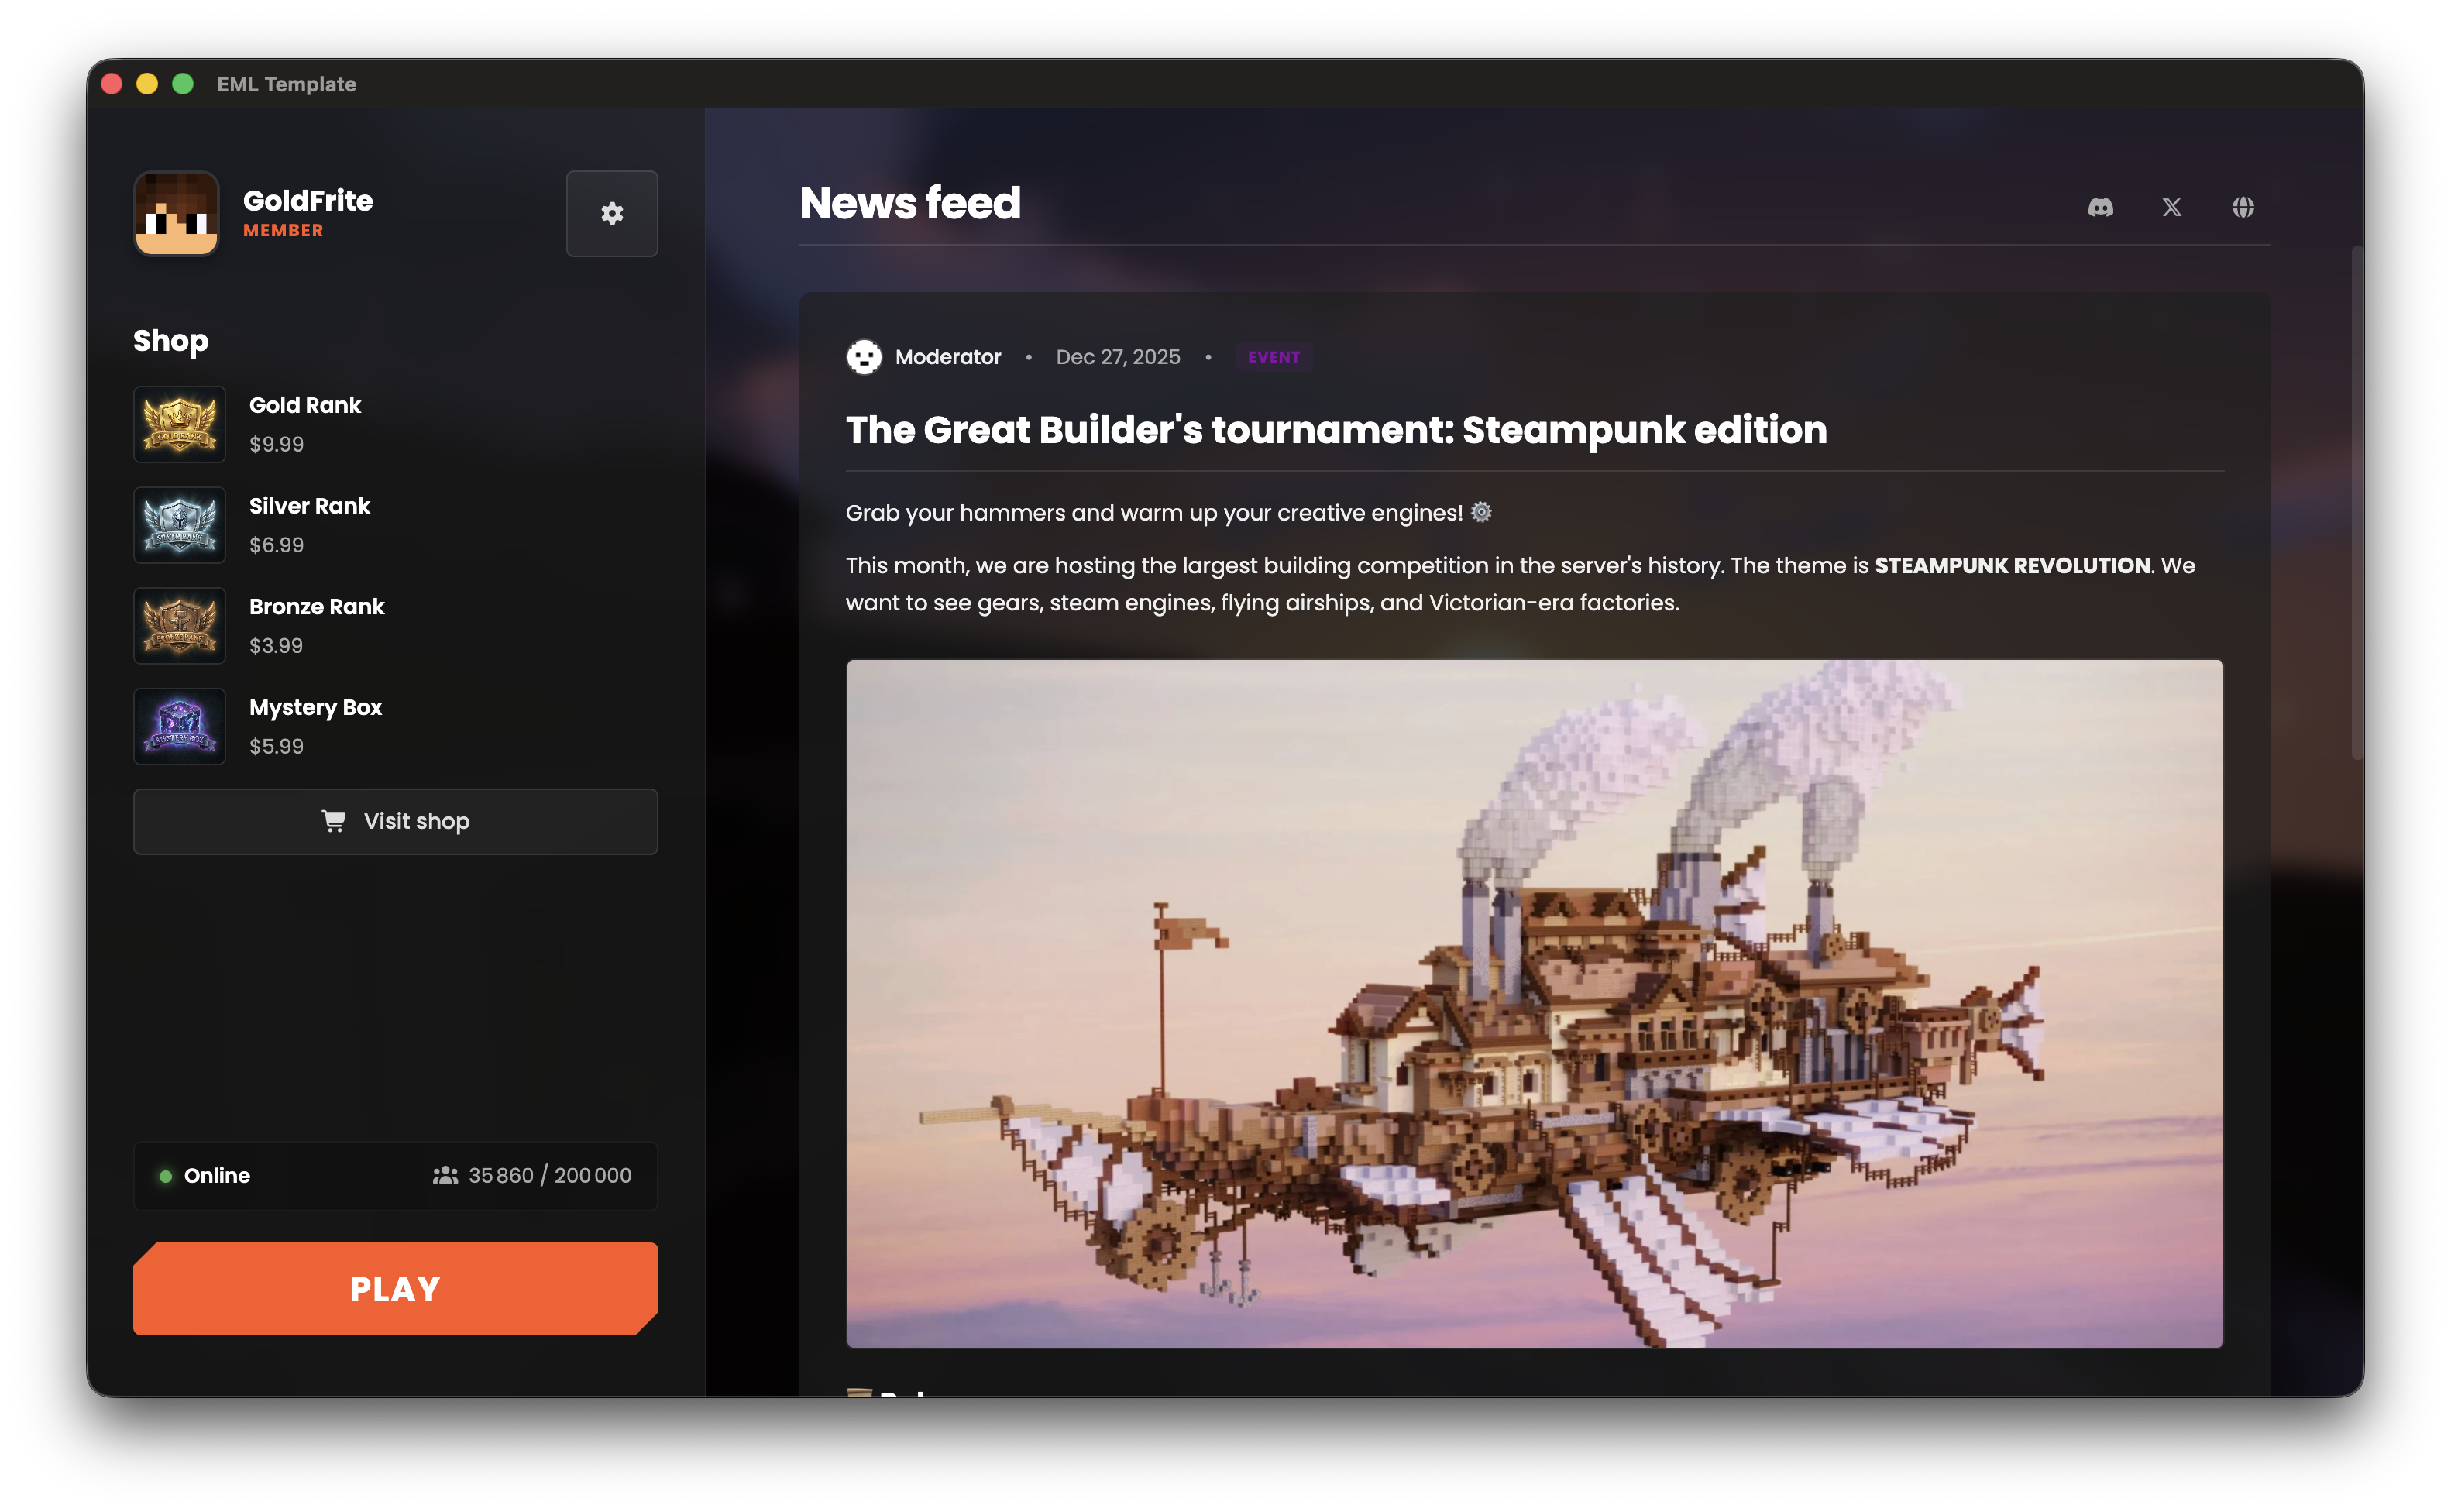
If you want to focus on the launcher logic and design immediately without configuring Webpack, Vite, or TypeScript manually, use our official starter kit: EML Template.
It comes pre-configured with:
- Vite (ultra-fast build tool)
- TypeScript (type safety)
- SCSS (advanced styling)
- Electron Builder (ready to package)
To get started:
Go to the EML Template repository.
Note
You must have Git installed on your system. If you don’t have it yet, download it and follow the installation instructions.
You should also have a GitHub account to create your own copy of the template.
Click “Use this template” > “Create a new repository” to create a copy in your own GitHub account.
Clone your new repository:
# Replace YOUR_USERNAME with your GitHub username and my-launcher with your repository name
git clone https://github.com/YOUR_USERNAME/my-launcher.git
cd my-launcher
Install dependencies:
npm installChange the EML AdminTool URL in
electron/const.tsto point to your own EML AdminTool instance.Start the developer mode:
npm run dev
You can now start customizing your launcher by following the Frontend architecture and further chapters.
Option 2: Set up the environment manually
Open your terminal and navigate to your development folder.
Create a new Vite project using the “Vanilla” template:
npm create vite@latest my-launcher -- --template vanillaNavigate into the new folder:
cd my-launcherInstall the initial dependencies:
npm install
Open your terminal and navigate to your development folder.
Create a new Vite project using the “Vanilla-TS” template:
npm create vite@latest my-launcher -- --template vanilla-tsNavigate into the new folder:
cd my-launcherInstall the initial dependencies:
npm install
Now, we need to install Electron, EML Lib, and the tools to bridge Vite and Electron.
Run the following commands:
# Install the core library
npm install eml-lib

# Install Electron, Builder, and Vite plugins as dev dependencies
npm install electron electron-builder vite-plugin-electron --save-dev
We now need to configure Vite to work with Electron.
Create (or replace) the
vite.config.jsfile at the root of the project:import { defineConfig } from 'vite' import electron from 'vite-plugin-electron' export default defineConfig({ plugins: [ electron({ entry: 'electron/main.js', }), ], })Open
package.jsonand update themainentry andscripts. Ensure you remove"type": "module"if present.{ "name": "my-launcher", "version": "1.0.0", "main": "dist-electron/main.js", "scripts": { "dev": "vite", "build": "vite build && electron-builder" }, "author": "Your Name", "license": "ISC", "dependencies": { // Your dependencies here }, "devDependencies": { // Your dev dependencies here } }
Create (or replace) the
vite.config.tsfile at the root of the project:import { defineConfig } from 'vite' import electron from 'vite-plugin-electron' export default defineConfig({ plugins: [ electron({ entry: 'electron/main.ts', }), ], })Open
package.jsonand update themainentry andscripts. Ensure you remove"type": "module"if present.{ "name": "my-launcher", "version": "1.0.0", "main": "dist-electron/main.js", "scripts": { "dev": "vite", "build": "tsc && vite build && electron-builder" }, "author": "Your Name", "license": "ISC", "dependencies": { // Your dependencies here }, "devDependencies": { // Your dev dependencies here } }Note
Even in TypeScript, the
mainfield inpackage.jsonmust point to the compiled JavaScript file (dist-electron/main.js), not your.tssource file.